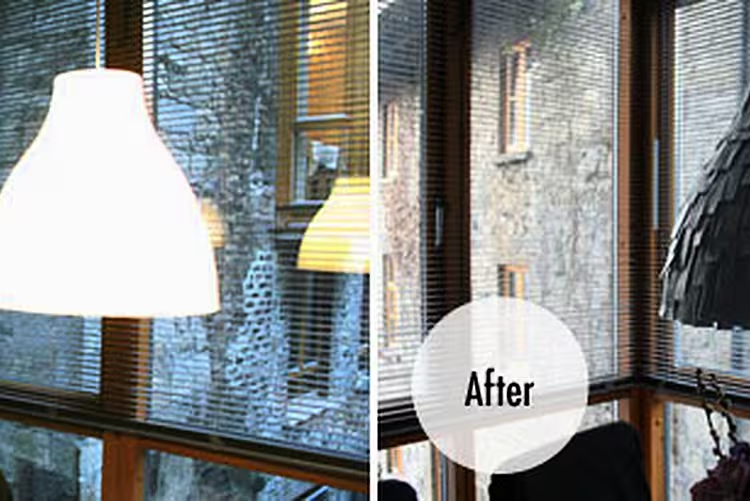
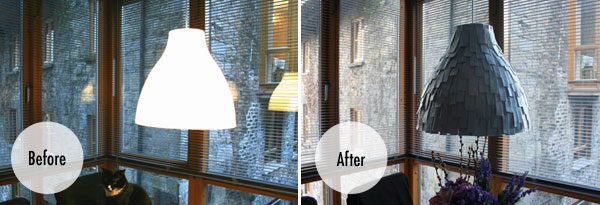
We wanted a unique pendant light for our dining area, and hadn’t come across quite what we were looking for in our local lighting retailers. The opportunity arose to create something of my own when I spotted the IKEA Melodi lamp online. Here is a little walkthrough of what I created.
What you need
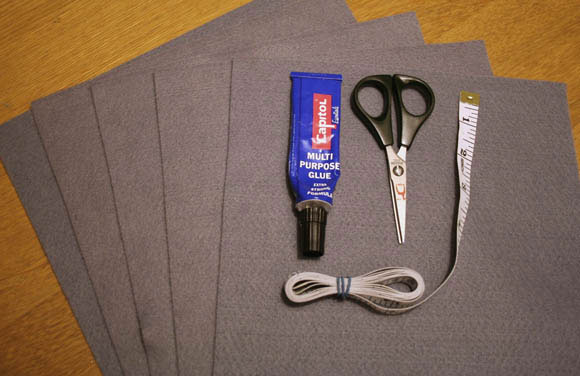
- IKEA Melodi pendant lamp (€14.99)
- Felt sheets in a color of your choice (8 sheets were used for this project, costing €0.80 per sheet at Easons / all good craft supply shops)
- Glue / adhesive
- Scissors
- Measuring tape or ruler - not mandatory
Step One
Begin by cutting the felt sheets into roughly 3 x 13cm (1 x 5 inch) strips. I used rectangular strips for my lamp, but feel free to use and experiment with any shape you like.
Step Two
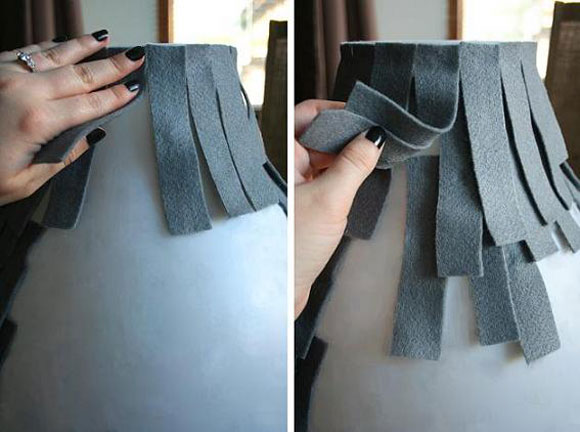
Starting at the top of the lamp and using a small dab of glue on the end of each piece, place the felt evenly around the top of the lamp. For the remainder of the lamp, there is no right or wrong method for placing the felt. However, do ensure you overlap (or ‘underlap’ as is the case for this project) to make sure every part of the Melodi lamp is covered.
Step Three
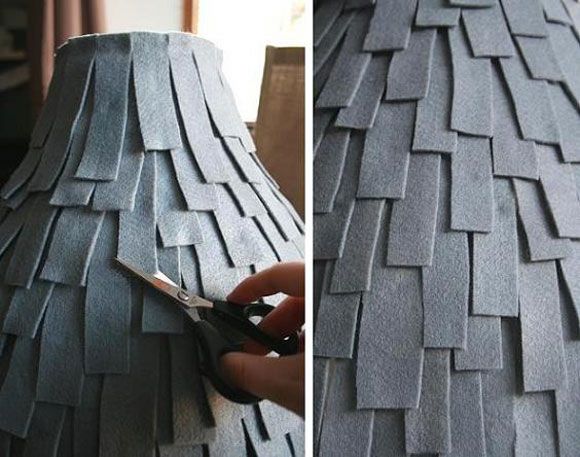
To avoid making the felt layering seem too repetitive, I staggered the lengths of felt with scissors as I went along. Continue this process until no parts of the original lamp are visible.
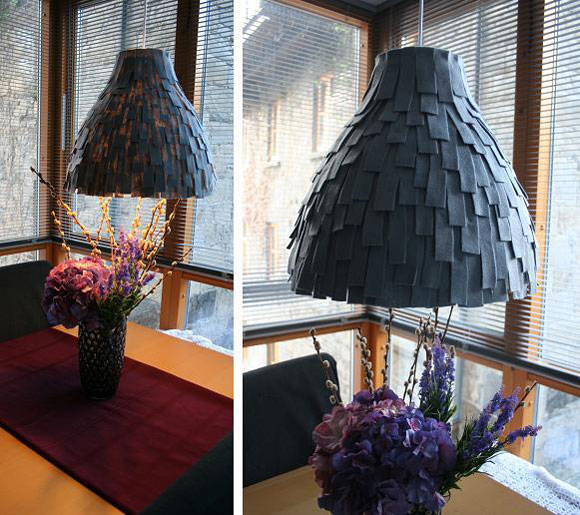
Finished piece:
Additional Note
Please note that this lamp was made for an area of my home which gets a high level of natural light, therefore the light I placed over my dining table is for decorative and ambient lighting. Think ahead should you decide to tackle this project in your home, and make sure it’s not being used for task lighting, i.e. chopping or reading, as this level of light may strain your eyes.
Words and images: Alex Cobbe. See the original online tutorial at Hydrangea Girl.