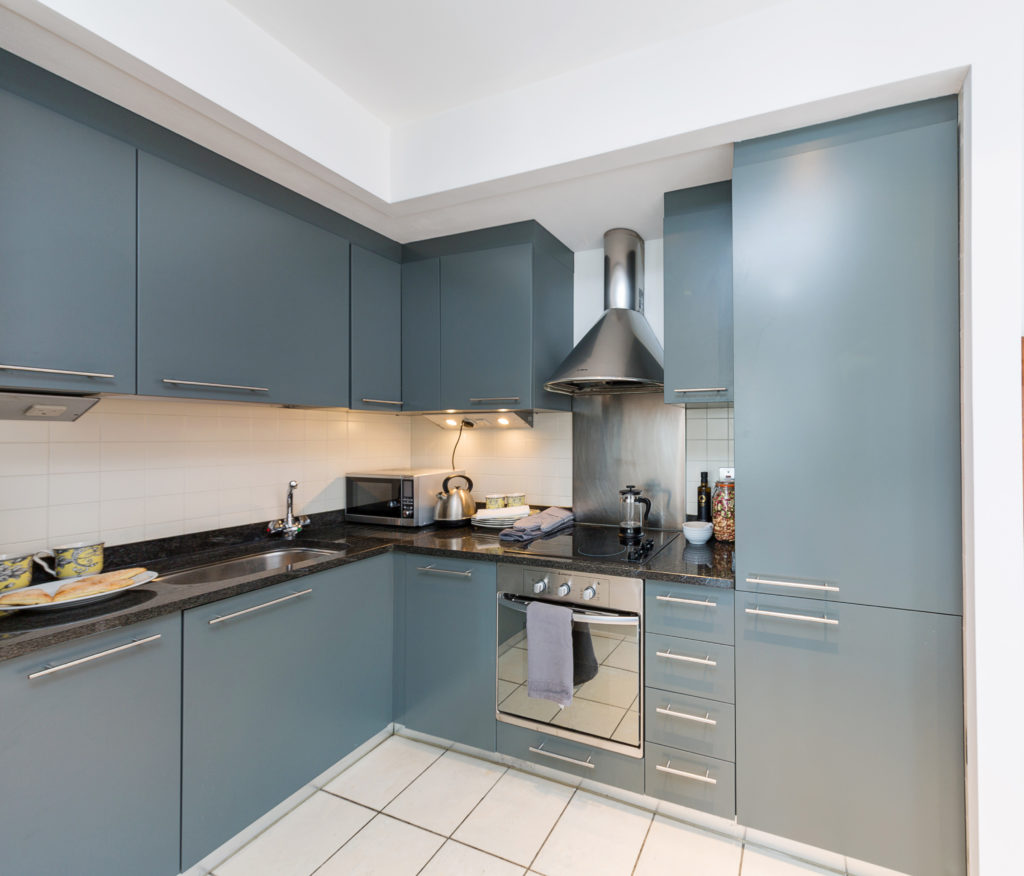
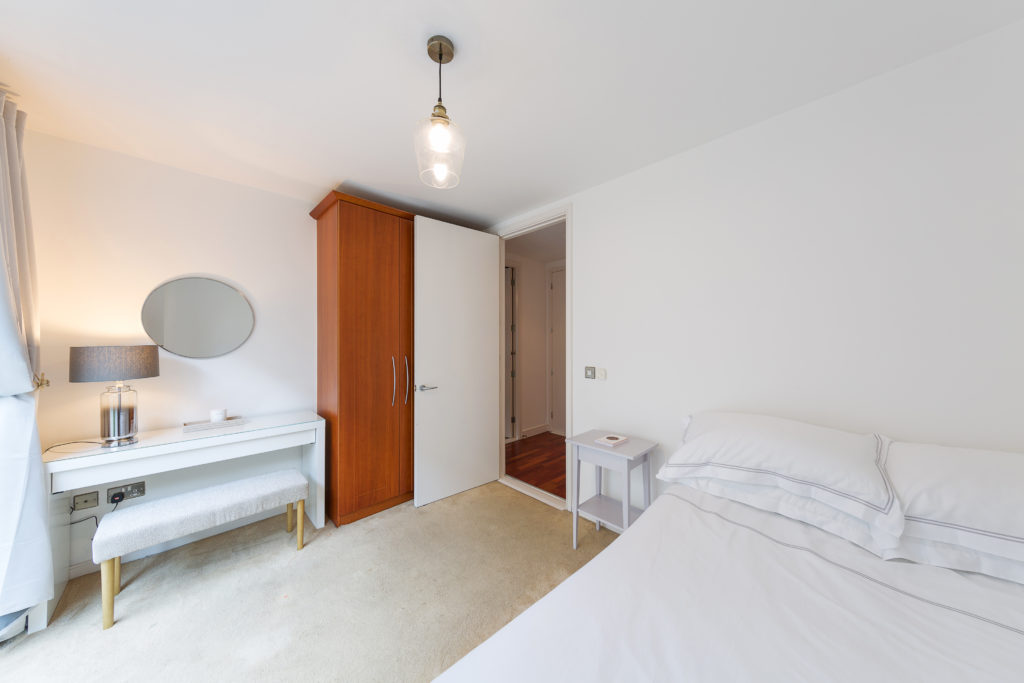
A House and Home promotion
We chatted to ‘The Interiors NRD’, Natasha Rocca Devine, to get her top staging tips to get your home ready for sales or rental.
After studying interior design, and spending years in Los Angeles working as a luxury real estate salesperson, you could say Natasha knows a thing or two about staging a home to help enhance the property and quicken the sale. You may have seen her in action on RTE's Find me a Home, where a project she worked on for estate agents Owen Reilly sold for €70,000 over the asking price, within a month, after Natasha staged the property.
We like the sound of those numbers, so take it away, Natasha!
1. Imagine the Client(s)
Decide who the optimum client is/are to buy (or rent) and stage the space, based on their lifestyle, needs and your budget to meet their needs and yours alike. Plan the staging around this/these types of clients.
2. Choose the USP’s (Unique Selling Points)
Decide what are the key USP’s in the space and work from there. Keep it simple. If there is a superb view, invest in the emphasising the window features etc. If there is a beautiful garden then invest in additional pieces. And so on.
3. Survey the Space
Access the floor plans of the space and or take photographs of each room and garden. Use this to make a to do list. Most importantly, plan to mark out where new and existing furniture can be placed and create a list of what is missing to complete the stage.
4. Budget Balanced
Based on your to do list, create a budget and use this to research your choices in furniture, home accessories. Also, a list of who and what will be required to help you in each step of this process. This will further assist you in your choice of team to help you; painter, movers, cleaner, gardener and so forth.
5. Clear Out
Remove all idle existing furniture and/or place them in one area of each room to allow space you to plan the best use of this. Donate to charity, hire a skip, or sell them at a local vintage market, to clear out anything that you no longer require yet in a positive way.
6. Clean Up
Budget for cleaners pre-and post-project. Along with carpet cleaners, window cleaners and even furniture respray to restore older pieces of furniture. Also, air it out to ensure you have the space free or smells, such as pets or cooking, and choose candles to assist this.
7. Re-Colour
Invest in a re-paint of the entire space. Or if your budget does not permit, choose key areas such as doors and window frames to emphasize key structural features. Opt for neutral colours such as white, off white and creams to ensure the space looks larger. Alternatively, choose on trend colours in key rooms to highlight the space in a different way.
8. Light-It-Up
Open out the windows to allow in natural light. Along with layers in lighting to create a space which bright but not overbearing or costly. Choose mirrors in hallways and small areas which can help to create a sense of breadth and maximise the square footage.
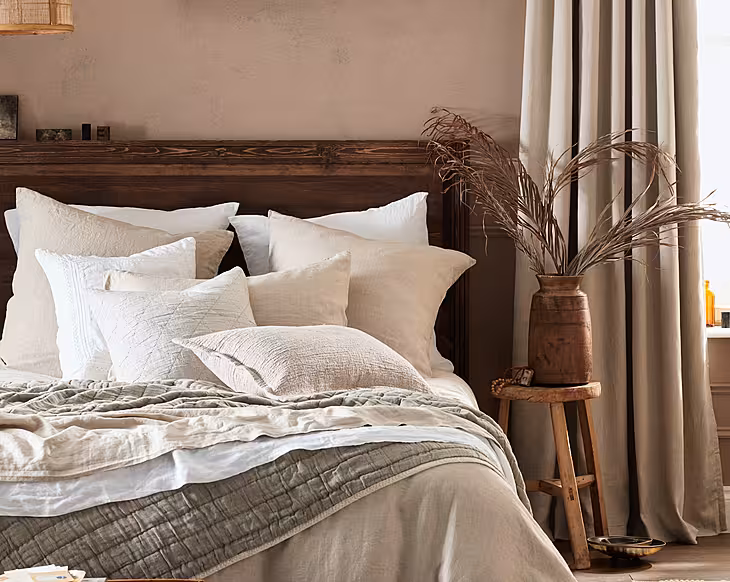
9. In With The New
When purchasing home accessories and furniture, opt for new pieces combined with vintage, which can be resprayed or touched up to add some classic style into your space. Alternatively, opt to rent furniture off a staging company (or borrow off family and friends), particularly if you require your existing furniture with you as you move during this period.
10. Outdoor Life
As a garden is a luxury for many apartments or city homes, ensure the garden is well kept and re-plant new bulbs where required so it remains at an optimum sellable or rental value. For balconies, add in plants, clean any stoning or glass and create seating areas to make it more desirable.