All you need to make this thread organiser are:
- A hammer
- Wood glue
- A pencil
- A ruler
- Nails (make sure your nails are long enough for your spool of thread as in image opposite)
- Pieces of wood (I used some scrap pieces of 2x4)
For the thread rack I used 4 pieces of wood measuring 19 inches in length (for the rack) and 2 pieces measuring 14 inches in length (for the back)
Lay the wood on the ground and, using a ruler, mark out where you are going to place the nails. I spread mine out an inch apart.
Using your hammer, place the nail on the mark and hammer in place, slightly at an angle.
Continue until all four pieces of wood are full of nails
Lay these four pieces on top of the two shorter pieces of wood and either nail in place or use wood glue to stick together.
That's it!
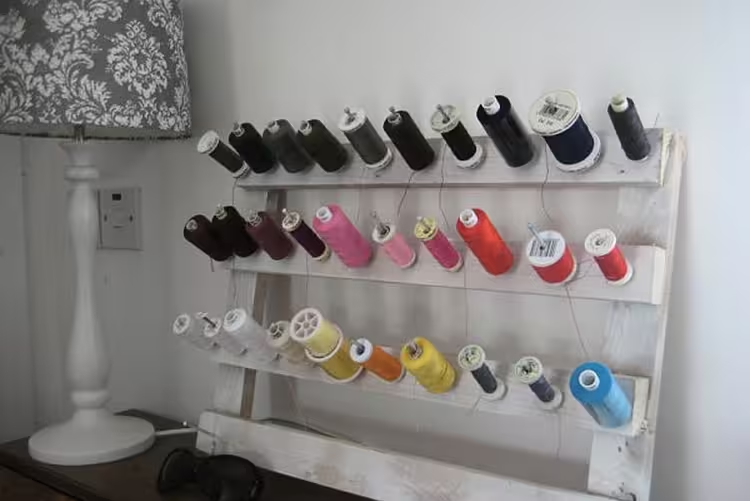
I sprayed mine with some white paint as the wood I used was old.
Then spend hours organising your threads to make it look pretty :O)
For more crafty tutorials check out http://www.michellemadethis.blogspot.com