Want to know how to paint tiles? We're not surprised - half of Instagram is at it!
 Image:
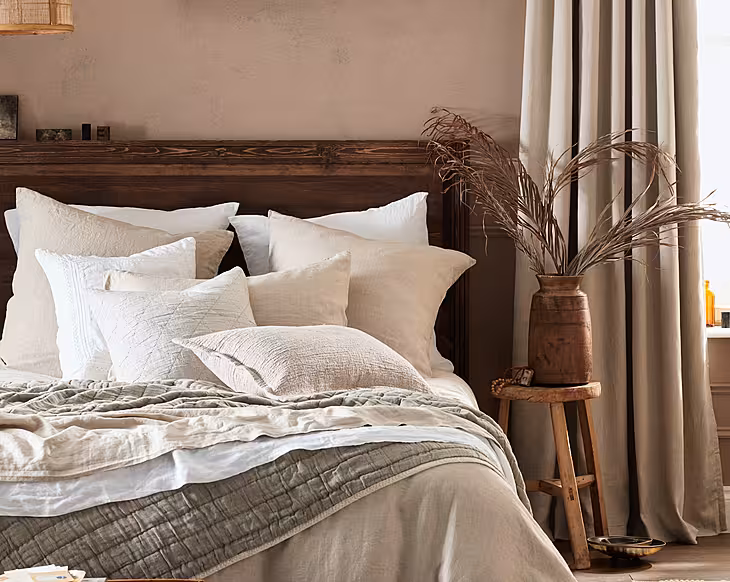
 Learning how to paint tiles could save you a chunk if you're not ready to replace your own just yet.
It's a slightly tricky job, but nothing you can't handle. Whether you're just trying to update old tiles or fancy a weekend project that will bring some new life into your space, achieving an on-trend patterned tiles finish is definitely within your grasp. With stencils, paint and a bit of patience, you'll be on your way.
Painting over well-worn tiles is a quick, affordable fix, but it's not the most durable solution, so choose the tiles you're painting carefully (avoid particularly wet areas), and consider this a stop gap to last you until you can replace them, not a forever solution.
Everything you need to paint tiles
 Image: @aproudhome
Sugar soap
Scourer
Filler
Fine grade sandpaper
Small paint brush / roller
Stencil
Primer
Tile paint
Method - How to paint tiles
 Image: Nesting With Grace
1. Clean your tiles thoroughly with sugar soap and a scourer as dirt, dust and grease can stop the paint adhering properly. If there are any signs of mould, use a fungicidal spray to kill it off. If your grout is looking grimy, perhaps consider buying a grout cleaner to bring it back to life, or if it needs serious attention, scrape it out and re-grout before painting.
2. Wait 24 hours to ensure your tiles and grout are completely dry before starting with any paint.
3. Sand your tiles, especially if you're painting a high-gloss tile, but make sure you dust off the tile afterwards. Sanding it will help roughen the surface which will give the paint something to adhere to.
4. Prime your tiles in thin coats (if required. Some specialist paints don't need it). Let the primer dry completely and then lightly sand the surface. Remove any dust again.
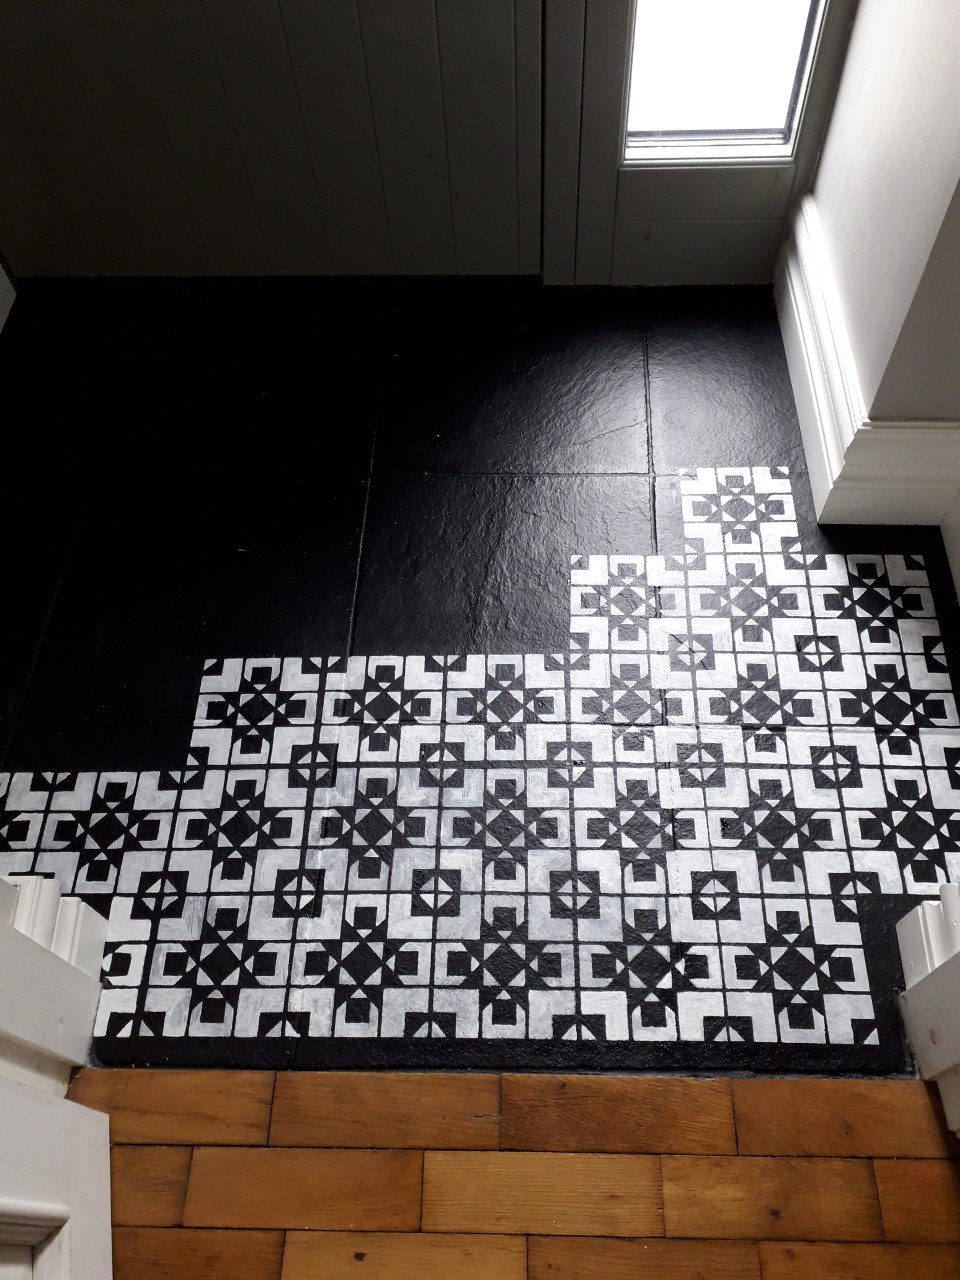 Image: @vintagehillcork
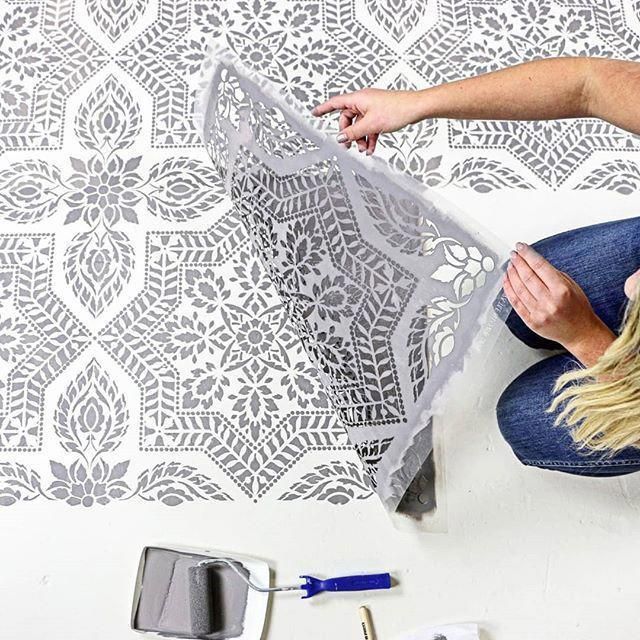
5. Make sure you've chosen a high-quality paint for the job. A specific tile paint is ideal but they often come in limited shade ranges so if you'rre using a high quality gloss or semi-gloss paint, make sure you've invested well in your primer.
6. The current trend is for painted patterns, so if you're planning to do the same, you'll need your stencil at the ready. Take your time in ensuring it's positioned correctly on your first tile, and take it one tile at a time. Start with a less visible tile while you nail your technique.
7. Apply several thin coats using a small paintbrush or a roller - tiles are quite unforgiving so some people find paintbrushes leave too many brush marks, but this is personal preference - and remember less is more with the paint. If you find your paint is bleeding beyond the stencil, it's a sign you're using too much paint.
8. It will usually take at least two coats of paint to get the desired effect. Make sure you allow enough time for the tiles to dry, as per the instruction on whatever paint you use.
9. To help the longevity of your painted tiles, seal it with a water-based varnish (presuming you have used a water-based base coat).
10. Avoid abrasive cleaning products after painting your tiles - you'll risk removing the paint and undoing all your hard work.
Been there, done that: the interior Instagrammers' take on how to paint tiles
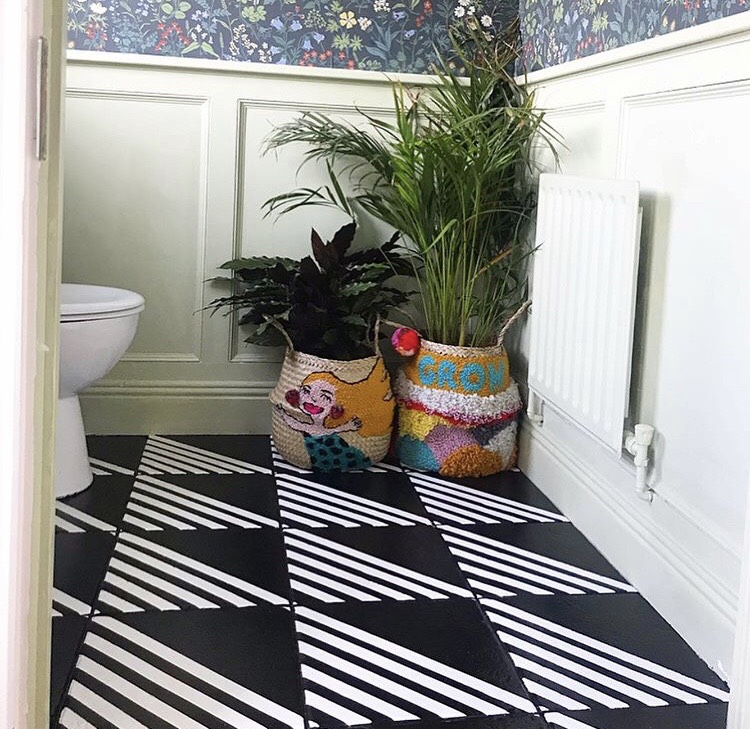 Image: @aproudhome
Sharing DIY hindsight on Instagram has saved more than one home makeover project from disaster, so we asked two Irish interiors Instagrammers for their top tips.
Joanne Mooney from @aproudhome was one of the first Irish Instagrammers we saw tackling painting tiles. "I learned you need patience for this job," Joanne laughs. "It takes a few days to finish this project. Don’t rush it; take your time to do it right."
"The only thing I would do differently is I would use a water base clear varnish. I used an oil based varnish and it has gone yellow over time because it it contains polyurethane," she says.
"Use a roller instead of a brush. You get more coverage with a roller. I used a baby wipe to wipe my stencil after each use - check out stencilit.co for cool stencils. Tip up any mistakes with a small paint brush.
"Make sure your 100% happy with your stenciled floor before applying the varnish because there is no going back once you seal the painted tiles," she concludes.
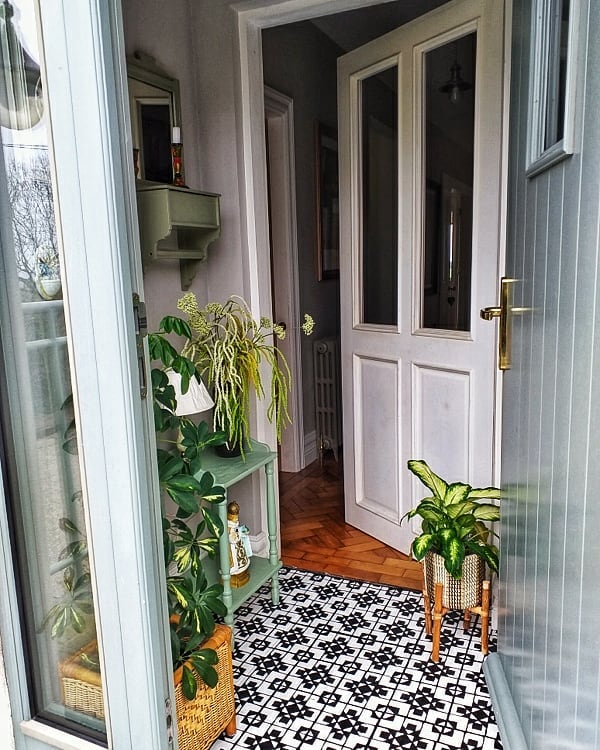 Image: @vintagehillcork
Aisling Riordan from @vintagehillcork did a phenomenal job painting the tiles in her porch last year. "The main thing I learnt from my first stenciled floor was its definitely not as easy as it looks," she says.
"Applying the base coat is the easiest part but when it comes to applying the stencil I learnt that it's essential to apply the paint very sparingly."
"If I was doing another floor, I'd order a stencil that comes with a separate strip stencil for doing the edges and corners. These were definitely the trickiest parts and I ended up doing certain bits freehand as the stencil was too big to get into the awkward bits.
"@dizzy_duck_designs sell bespoke stencils, cut to match the size of the tile you're looking to cover and with a separate stencil for the edges," she recommends.